Softphone Configuration Guide
You can download X-Lite PC Phone here or find the latest versions for MAC.
Once the file is downloaded, run the VoIP Softphone setup executable file and follow the prompts from the install wizard. At the final step of the wizard, check the Launch X-Lite checkbox to start using the softphone. Click Finish to complete the installation. Follow the steps below to configure your VoIP account.
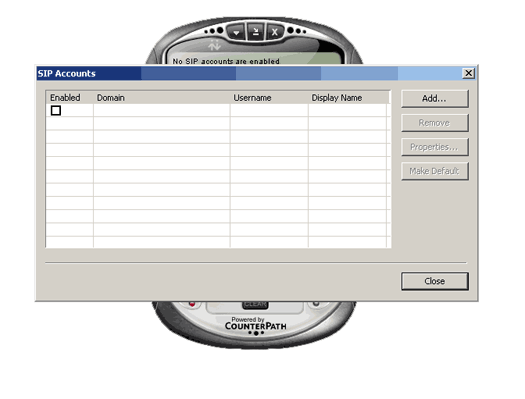
1.) Once you launch the softphone a new window will pop-up with your "SIP Accounts" Click on the "Add.." button.

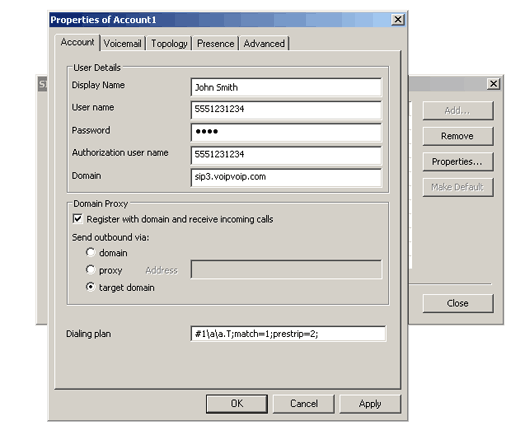
2.) A new window with the name "Properties of Account 1" will pop up. Fill up the following fields;
- Display Name : Your name and last name
- User Name : (Your 10 digit VoIP VoIP account starting with 555)
- Password : ( same password used to login to your VoIPVoIP account - passwords are case sensitive)
- Authorization user name : (Your 10 digit VoIP VoIP account starting with 555)
- Domain: sip3.voipvoip.com ( VoIP VoIP softphone server information)
Below you can find an example filled account information. Please fill your information accordingly and click "OK" button.

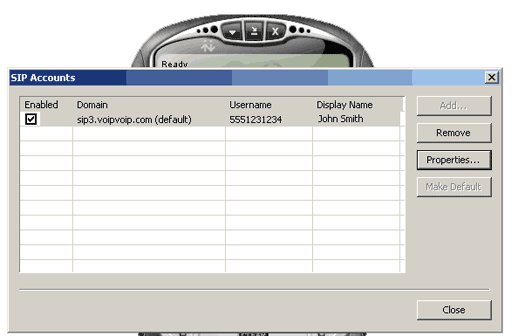
3.) Click the "Close" button in the new window.

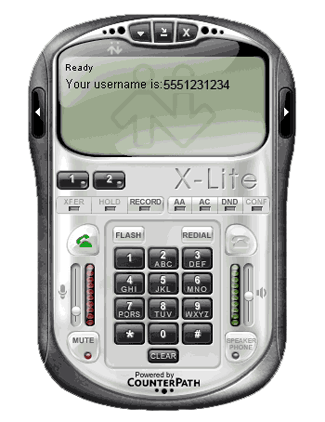
Now you are ready to make calls. Enter the number you wish to call and press the green button.
For international calls, dial 011 followed by the country code and number, then press the green button. For domestic U.S. calls, just dial 1 + the area code and number then the green button.

NAT/Firewall Issues
If you get one-way audio, or cannot register you are probably behind NAT or firewall is enabled on your PC. Disable firewall on your PC and make the following changes.
- Right click on any part of X-Lite PC Phone software and select "Sip Account Settings.."
- Click on "Properties..." button.
- Click on "Topology" tab.
- Select "Use local IP address" under "IP Address"
- Check "Enable ICE" option and then click on "OK" button.
Restart X-Lite and router and try making calls again.
